 Easy
Easy
Easy Sensors For Tiny FX
Learn how sensors can be used to make interactive Tiny FX projects.
In this part of the Tiny FX series of guides we will learn how to use sensors with Tiny FX to trigger light and sound in our models!
Sensors can measure many different things. There are sensors to measure distances, detect movement, light, humidity, acceleration, gestures etc. Our smartphones are packed with sensors to change the screen orientation, compass and GPS used for navigation, and infrared cameras to detect when our face is near to the screen.
Using sensors in a model brings two forms of interactivity. Passive interactivity, where builds react to the user without any interaction. Active interaction where a build uses sensors to react to a user action, gesture or presence. We'll be covering both forms of interaction in this guide.
In part three of this series we covered how to add audio effects to Tiny FX. Before following this guide, it is advised to follow part 3 so that you have a grounding in how to use audio with Tiny FX.
What You'll Need
- Tiny FX or Tiny FX W Starter Kit.
- Multi-Sensor Stick.
- 2 x LED "Dots" (Included in Starter Kits).
- Adhesive Backed Mini Speaker 8Ω (1W) (Included in Starter Kits).
- Optional: 2 x LED Strips
- A computer running Microsoft Windows, macOS or Linux.
- Thonny installed on your computer.
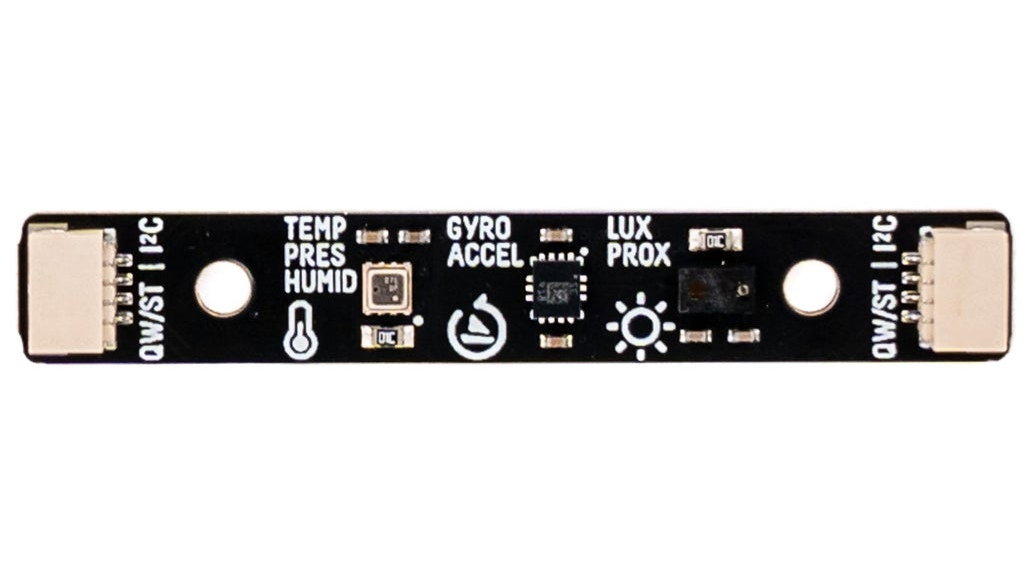 We'll be using the Multi-Sensor Stick as our sensor platform. This stick has three sensors built-in and it and uses our Qw/ST connector for solderless connectivity.
- Bosch BME280 temperature, pressure, humidity sensor.
- Lite-On LTR-559ALS-01 light and proximity sensor.
- STMicroelectronics LSM6DS3TR-C accelerometer and gyroscope.
In this guide, we will use two of the sensors, the LTR-559ALS-01 light and proximity sensor (LTR559 for short) and the LSM6DS3TR-C accelerometer and gyroscope sensor (LSM6DS3) to trigger actions.
- The LTR559 is our passive trigger, using light levels to turn on the flashing LEDs when it gets dark.
- The LSM6DS3TR-C is our active trigger using a double-tap gesture to turn on a full demo with lights and sound.
If you just want the code for this part of the project, go to step 20.
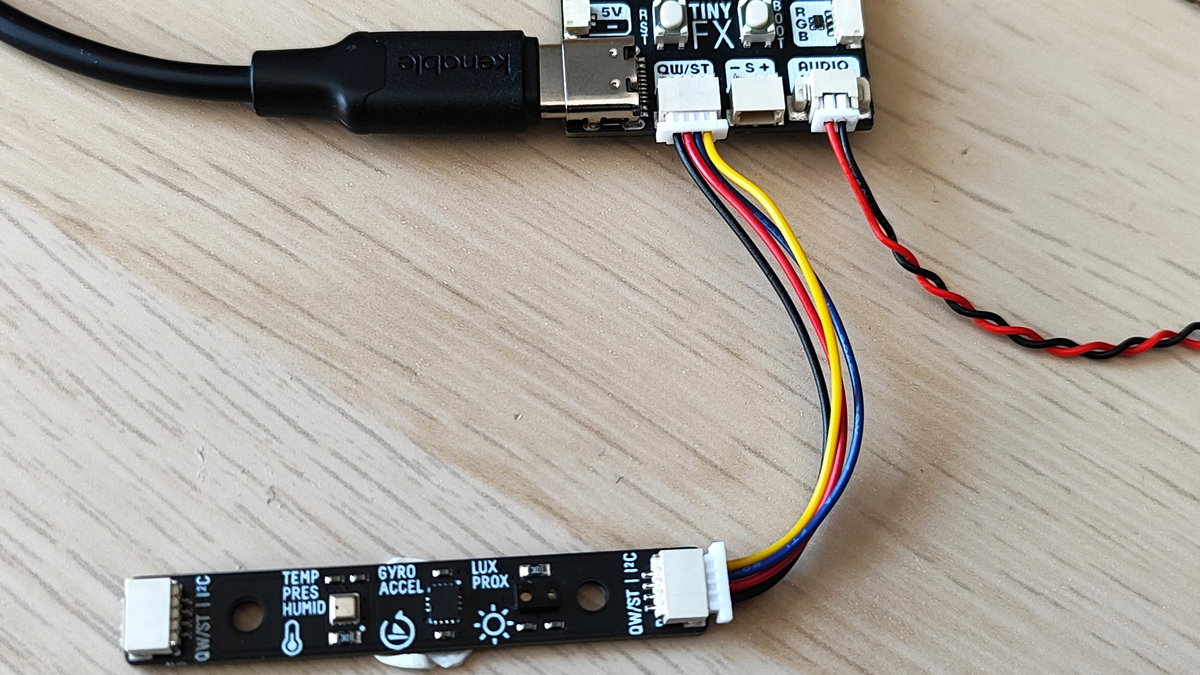
- Connect Multi-Sensor Stick to Tiny FX using the Qw/ST connector. Qw/ST connectors are designed to only go in one way.
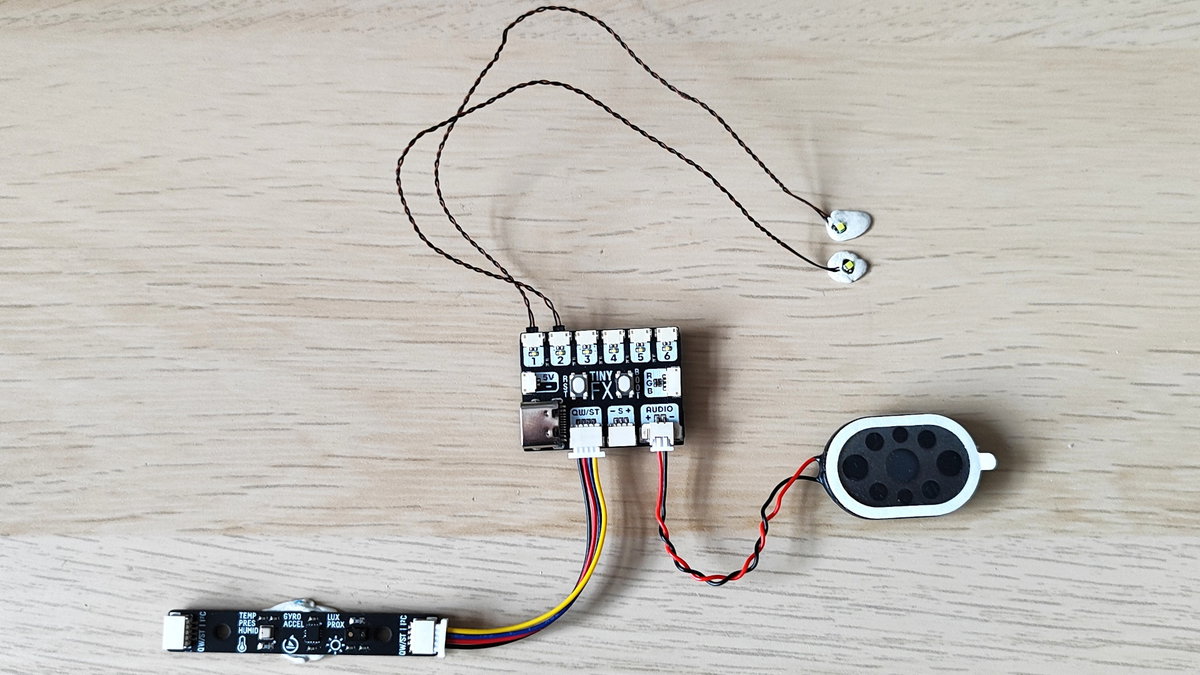
- Connect the LED dots and speaker to the correct ports.
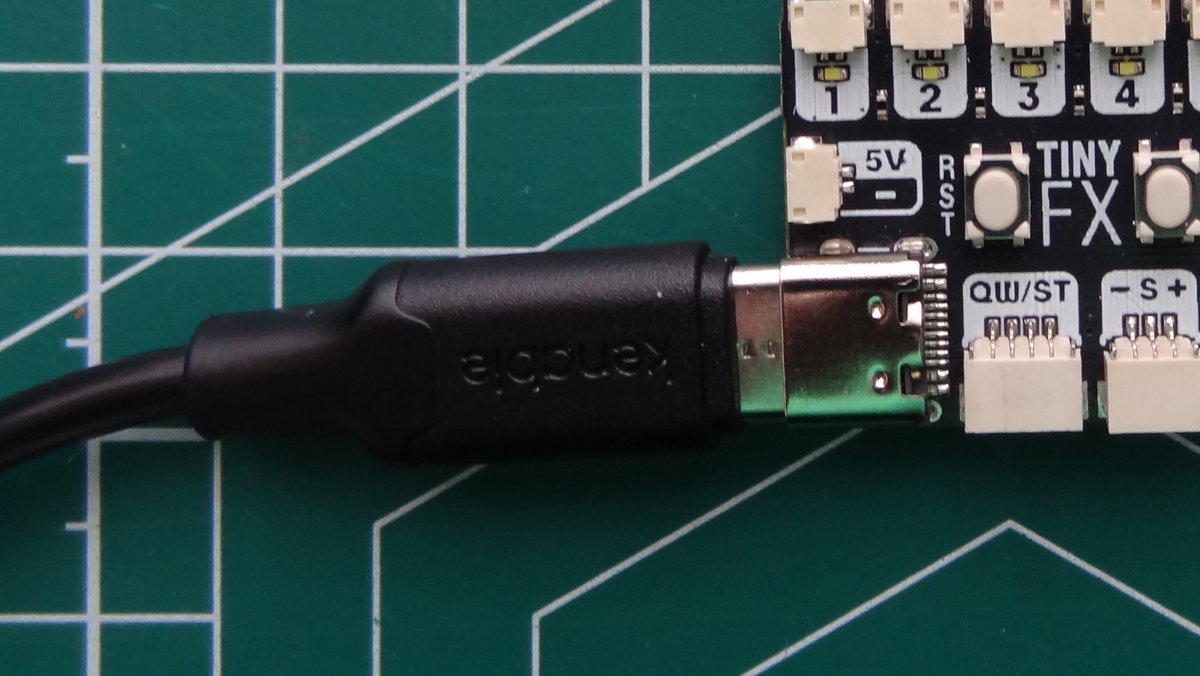
- Connect Tiny FX to your computer using a good quality USB Type C cable and open Thonny.
- Click on
Tools >> Manage Packages.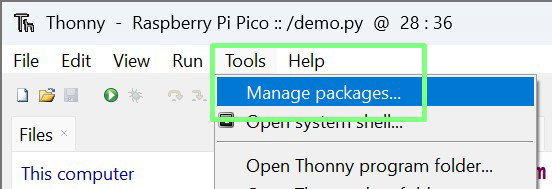
- Search for
lsm6ds3-micropythonand install the module. Click Close when complete. The LTR-559 driver is part of our MicroPython build, but you will need to install the LSM6DS driver yourself.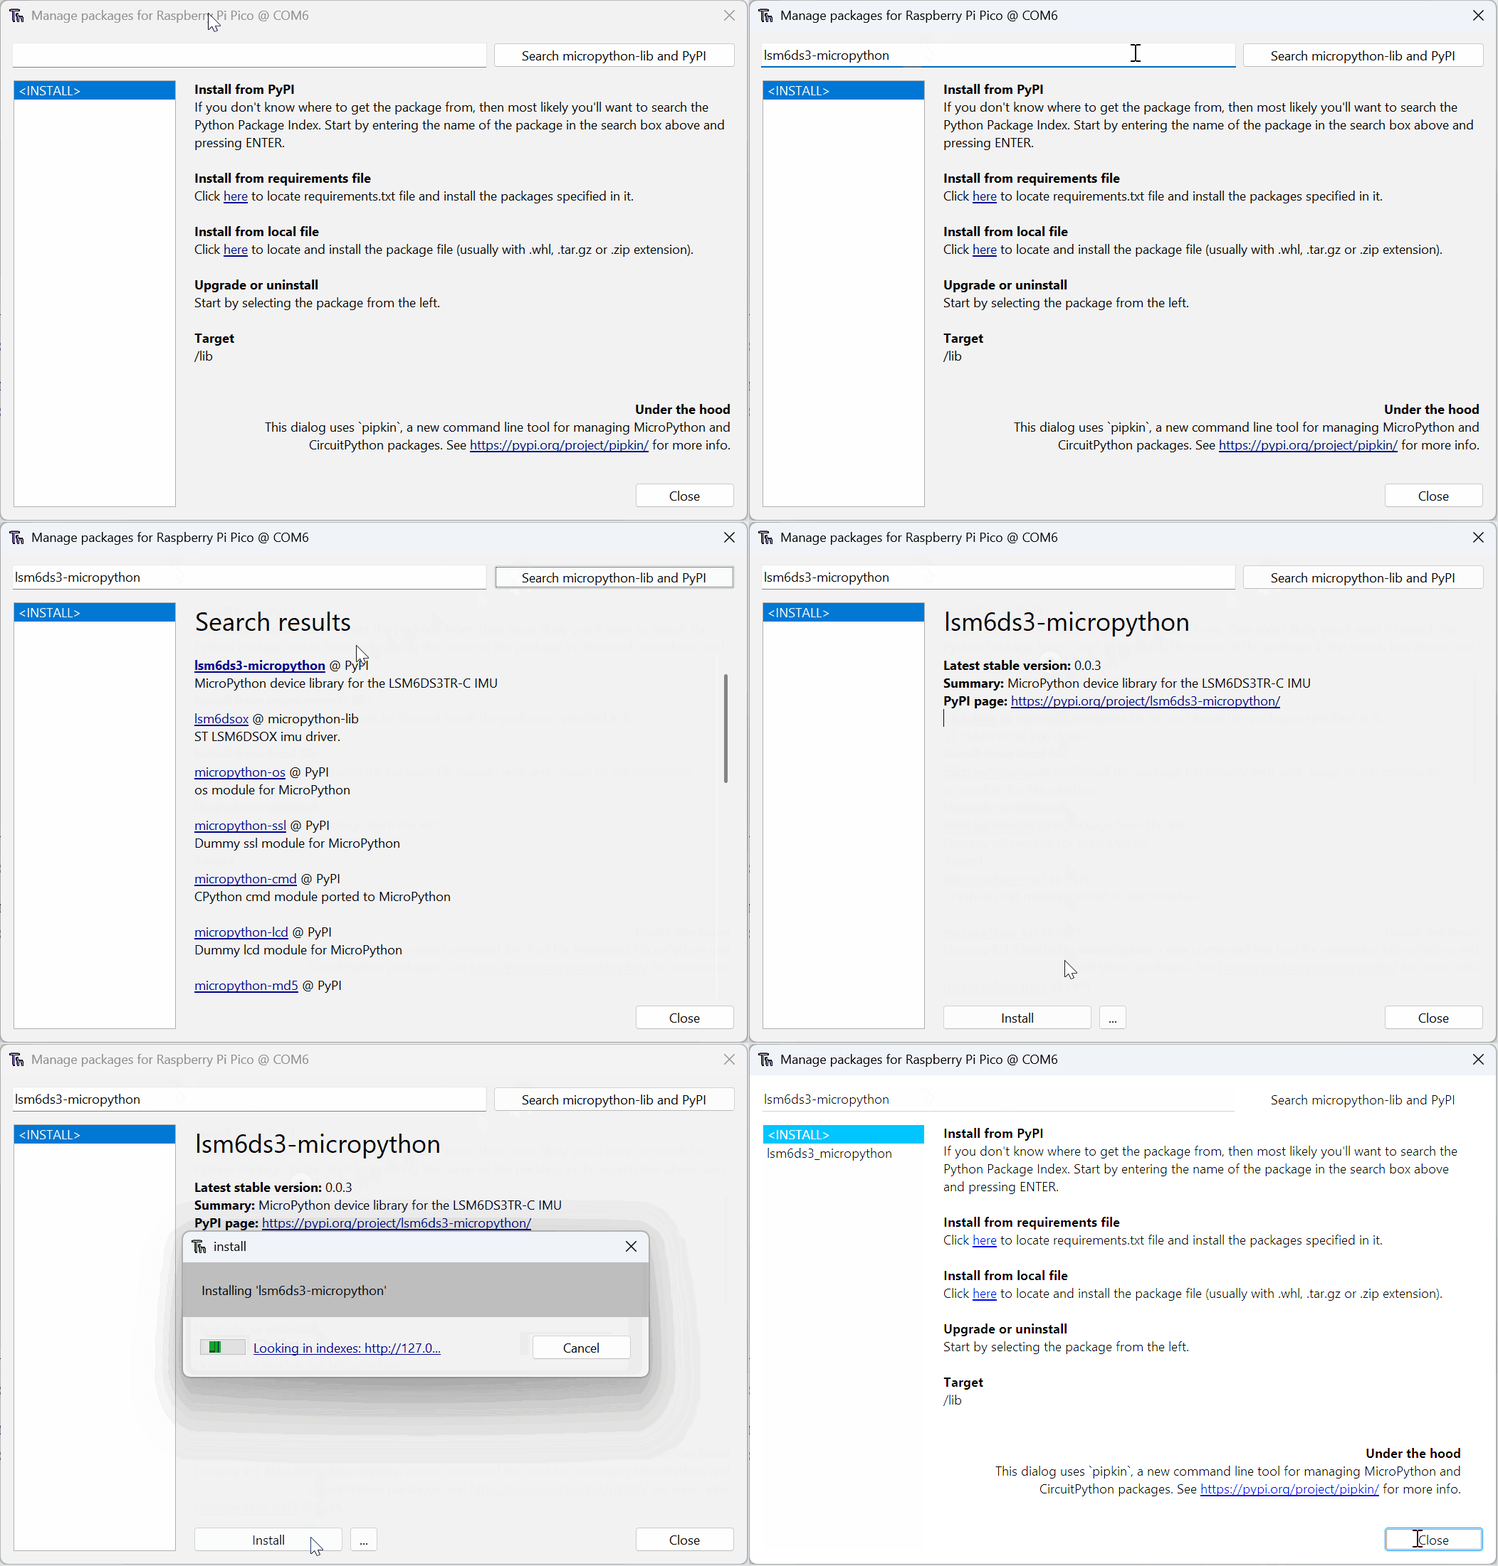
- In Thonny, click on
File >> Newto create a new blank file.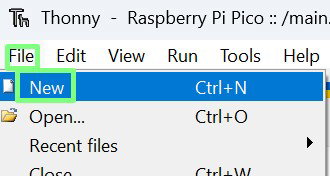
- In the new file, import a series of modules (libraries) of pre-written code.
breakout_ltr559: Enables the use of the LTR559 sensor.lsm6ds3: Enables the use of the LSM6ds3tiny_fx: Enables our code to interact with the Tiny FX board.picofx: Enables access to special Tiny FX functionality, in this case the single-colour LEDMonoPlayer.picofx.mono: Contains effects for single-colour LEDs, in this instance we import the flashing LED effect.time: We use this to control a delay in the code, controlling how often the sensor is checked.from breakout_ltr559 import BreakoutLTR559 from lsm6ds3 import LSM6DS3 from tiny_fx import TinyFX from picofx import MonoPlayer from picofx.mono import FlashFX from time import sleep
- Create two variables to store the lowest and highest light level (Lux) to be used to trigger the flashing light effect. The low level is the point at which it is dark enough to start flashing the LEDs. The high level is used to prevent the LEDs from accidentally triggering when the light level is almost dark enough as this can create an unwanted "flickering" effect. The use of caps for these variables refers to them being constants. These values are not updated as the code runs, instead they are set once and used.
LUX_LOW = 60 LUX_HIGH = 70 - Create a variable called
tinyto make it easier for us to write code that interacts with Tiny FX. Point the variable to the location of the sound effect used in this project.tiny = TinyFX(wav_root="/sfx") - Create another variable,
player, to use the effects insideMonoPlayerwith Tiny FX's outputs.
player = MonoPlayer(tiny.outputs)
- Create two variables to represent the LTR559
ltr, and the LSM6DS3lsmsensors. We usetiny.i2cto make a connection to each sensor. The Qw/ST connection uses the I2C (Inter-Integrated Circuit) protocol for communication. For simplicity, the I2C connection can be thought of as a road. Each sensor has its own address on "the road" and we can use it to send and receive data.ltr = BreakoutLTR559(tiny.i2c) lsm = LSM6DS3(tiny.i2c) - Using
player.effectsset the first and second LED dots to create a flashing effect to simulate the blue lights on top of the vehicle. Outputs three to six are not used, soNoneis used to skip their configuration.Set the flashing speed to
1.0(one second). Setting this to2.0would make the LEDs flash every 0.5 seconds.Set the number of
flashes.Set the
window, the percentage of time in which the flashes are performed.Set the
phaseto control when in the flash cycle the effect is performed. This is 0 for the first LED, 0.5 for the second. This creates the offset flashing pattern.Set the
dutyto control how long the flash is on for.player.effects = [ FlashFX(speed=1.0, # Flashing "blue" light 1 flashes=1, window=0.2, phase=0.0, duty=0.5), FlashFX(speed=1.0, # Flashing "blue" light 2 flashes=1, window=0.2, phase=0.5, duty=0.5), None, None, None, None ]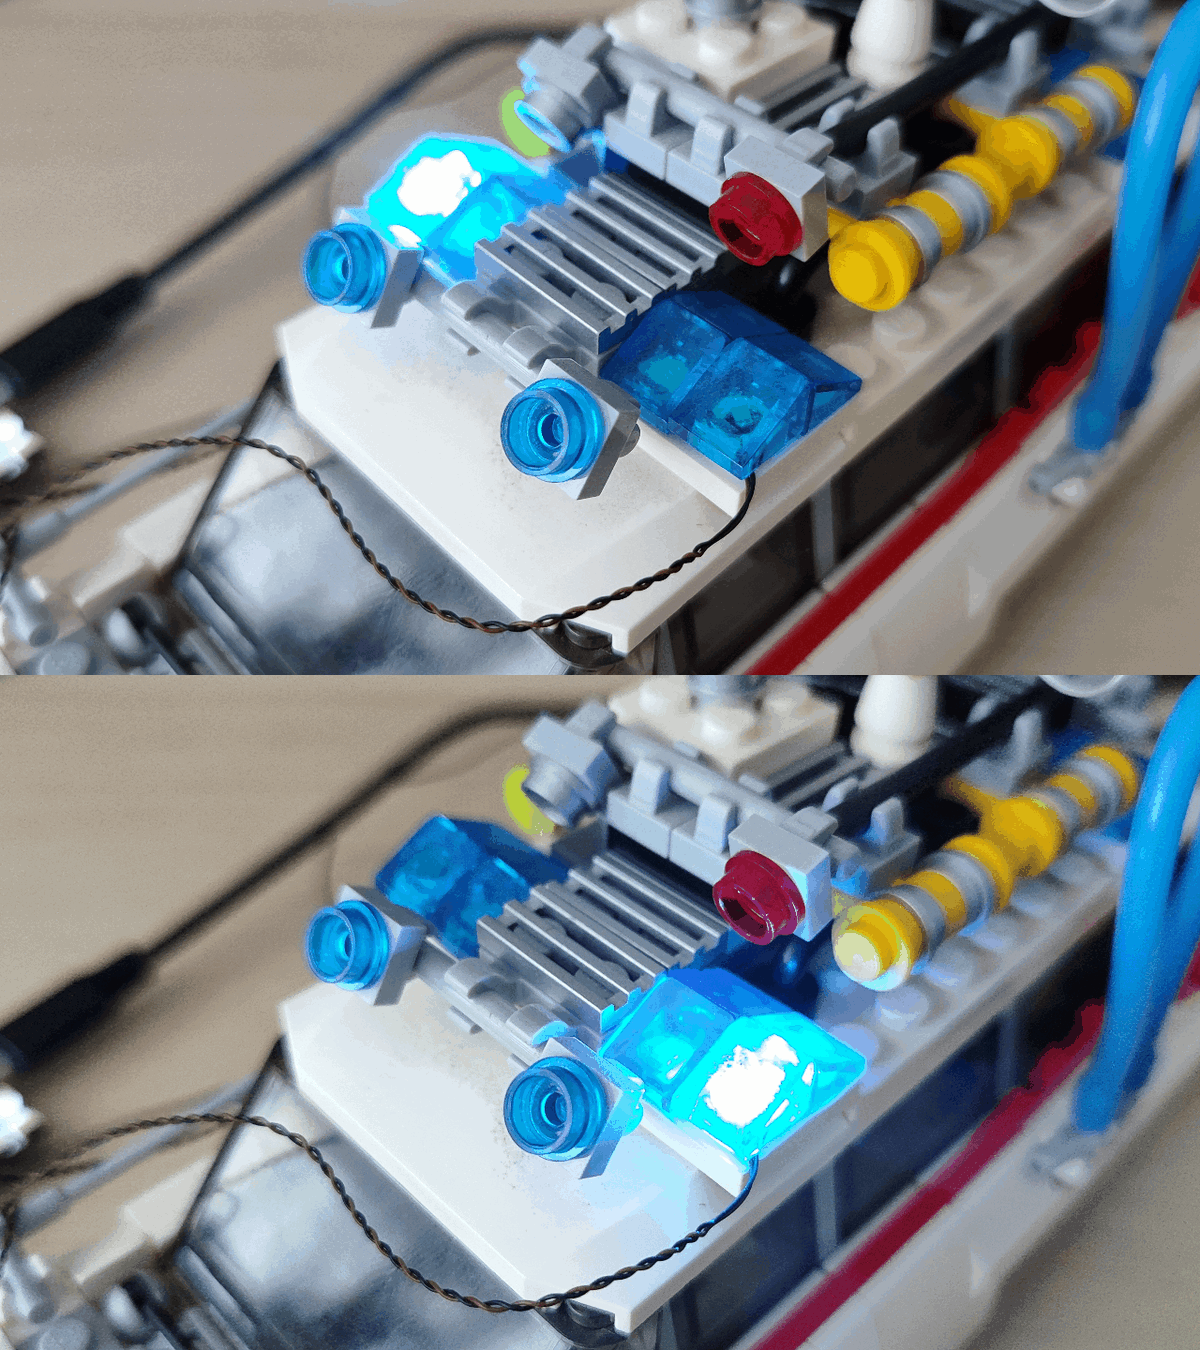
- Inside a
trystatement, create awhileloop to check if Tiny FX'sBOOTbutton has been pressed. These lines will try and run the code within, in this case a while loop check the state of theBOOTbutton. If the code cannot be run or the user pressesBOOT, then a laterfinallystatement is run which will ensure that Tiny FX is left in a good state before the code ends.try: while not tiny.boot_pressed(): - Take a light level reading using the LTR559 sensor and store the level in a variable,
reading. This will only happen if theBOOTbutton has not been pressed, which is the default for this project.reading = ltr.get_reading() - Create an
ifcondition to check that the returned reading is valid. If so, then we pull the lux (light level) data from the reading, and store it in a new variable calledlux. Finally, for debug purposes we print the light level to the Python Shell (bottom right of Thonny) as a sentence. The LTR559's first returned "reading" is nearly alwaysNoneand if we don't check for this, the code will fail here.if reading is not None: lux = reading[BreakoutLTR559.LUX] print(f"The light level is: {lux} Lux") - Using an
ifconditional test, check that the current light level (lux) is lower than the value stored inLUX_LOW, if it is, then the player will start flashing the LEDs. If the light level is higher than theLUX_HIGHvalue, the player will stop and outputs one and two are turned off. The high and low values are used to compare the live light level, reducing the chance of any false triggers or annoying flickering lights when the light threshold is almost reached.if lux < LUX_LOW: player.start() elif lux > LUX_HIGH: player.stop() tiny.one.off() tiny.two.off() - Create a trigger event (double-tap) to start the main demo. This
whileloop will check if the LSM6DS3 has detected a double-tap and if so, it will run the code within its loop.while lsm.double_tap_detected(): - Print a message to the Python Shell, and then start the player (to flash the LEDs) and then start playing the audio file. A nested while loop will check that the audio file is playing and a very short 0.01 second delay prevents the CPU from working too hard. We use
passto keep the loop checking until the audio stops.while lsm.double_tap_detected(): print("Running demo") player.start() tiny.wav.play_wav("ecto1.wav") while tiny.wav.is_playing(): pass sleep(0.01) - Use a
finallystatement to cleanly close the player and shutdown Tiny FX. Typically this statement is only used when there is an issue or the user presses theBOOTbutton to end the code.finally: player.stop() tiny.shutdown() - Check that your code looks like this before moving onward.
from breakout_ltr559 import BreakoutLTR559 from lsm6ds3 import LSM6DS3 from tiny_fx import TinyFX from picofx import MonoPlayer from picofx.mono import FlashFX from time import sleep LUX_LOW = 60 LUX_HIGH = 70 tiny = TinyFX(wav_root="/sfx") player = MonoPlayer(tiny.outputs) ltr = BreakoutLTR559(tiny.i2c) lsm = LSM6DS3(tiny.i2c) player.effects = [ FlashFX(speed=1.0, flashes=1, window=0.2, phase=0.0, duty=0.5), # Flashing "blue" light 1 FlashFX(speed=1.0, flashes=1, window=0.2, phase=0.5, duty=0.5), # Flashing "blue" light 2 None, None, None, None, ] try: while not tiny.boot_pressed(): reading = ltr.get_reading() if reading is not None: lux = reading[BreakoutLTR559.LUX] print(f"The light level is: {lux} Lux") if lux < LUX_LOW: player.start() elif lux > LUX_HIGH: player.stop() tiny.one.off() tiny.two.off() while lsm.double_tap_detected(): print("Running demo") player.start() tiny.wav.play_wav("ecto1.wav") while tiny.wav.is_playing(): pass sleep(0.01) finally: player.stop() tiny.shutdown() - Click on
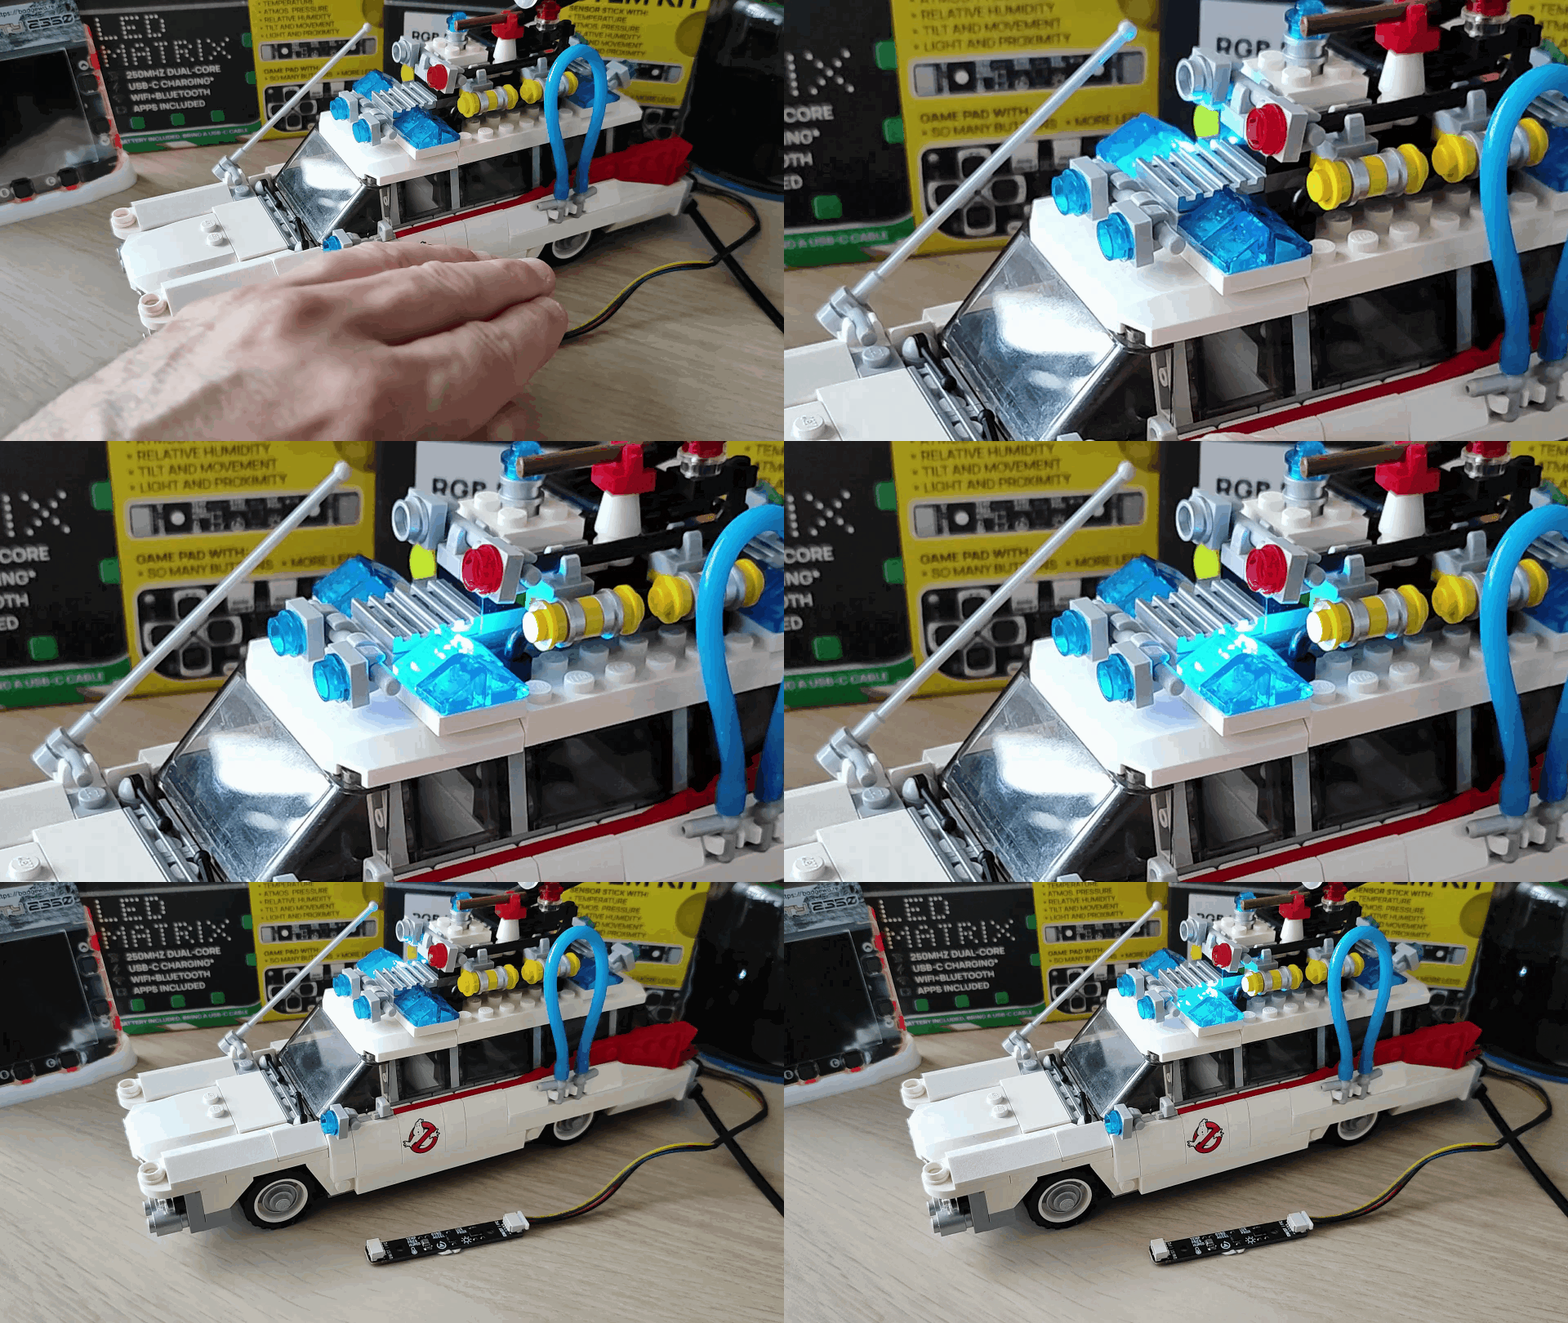
RUNto start the code. Put your hand over the LTR599 light sensor to trigger the LEDs to flash. Then, double tap the LSM6DS3 sensor to trigger the full demo. Double tapping may take a few attempts to get right. Its more. Tap. Tap. Than double clicking a mouse button.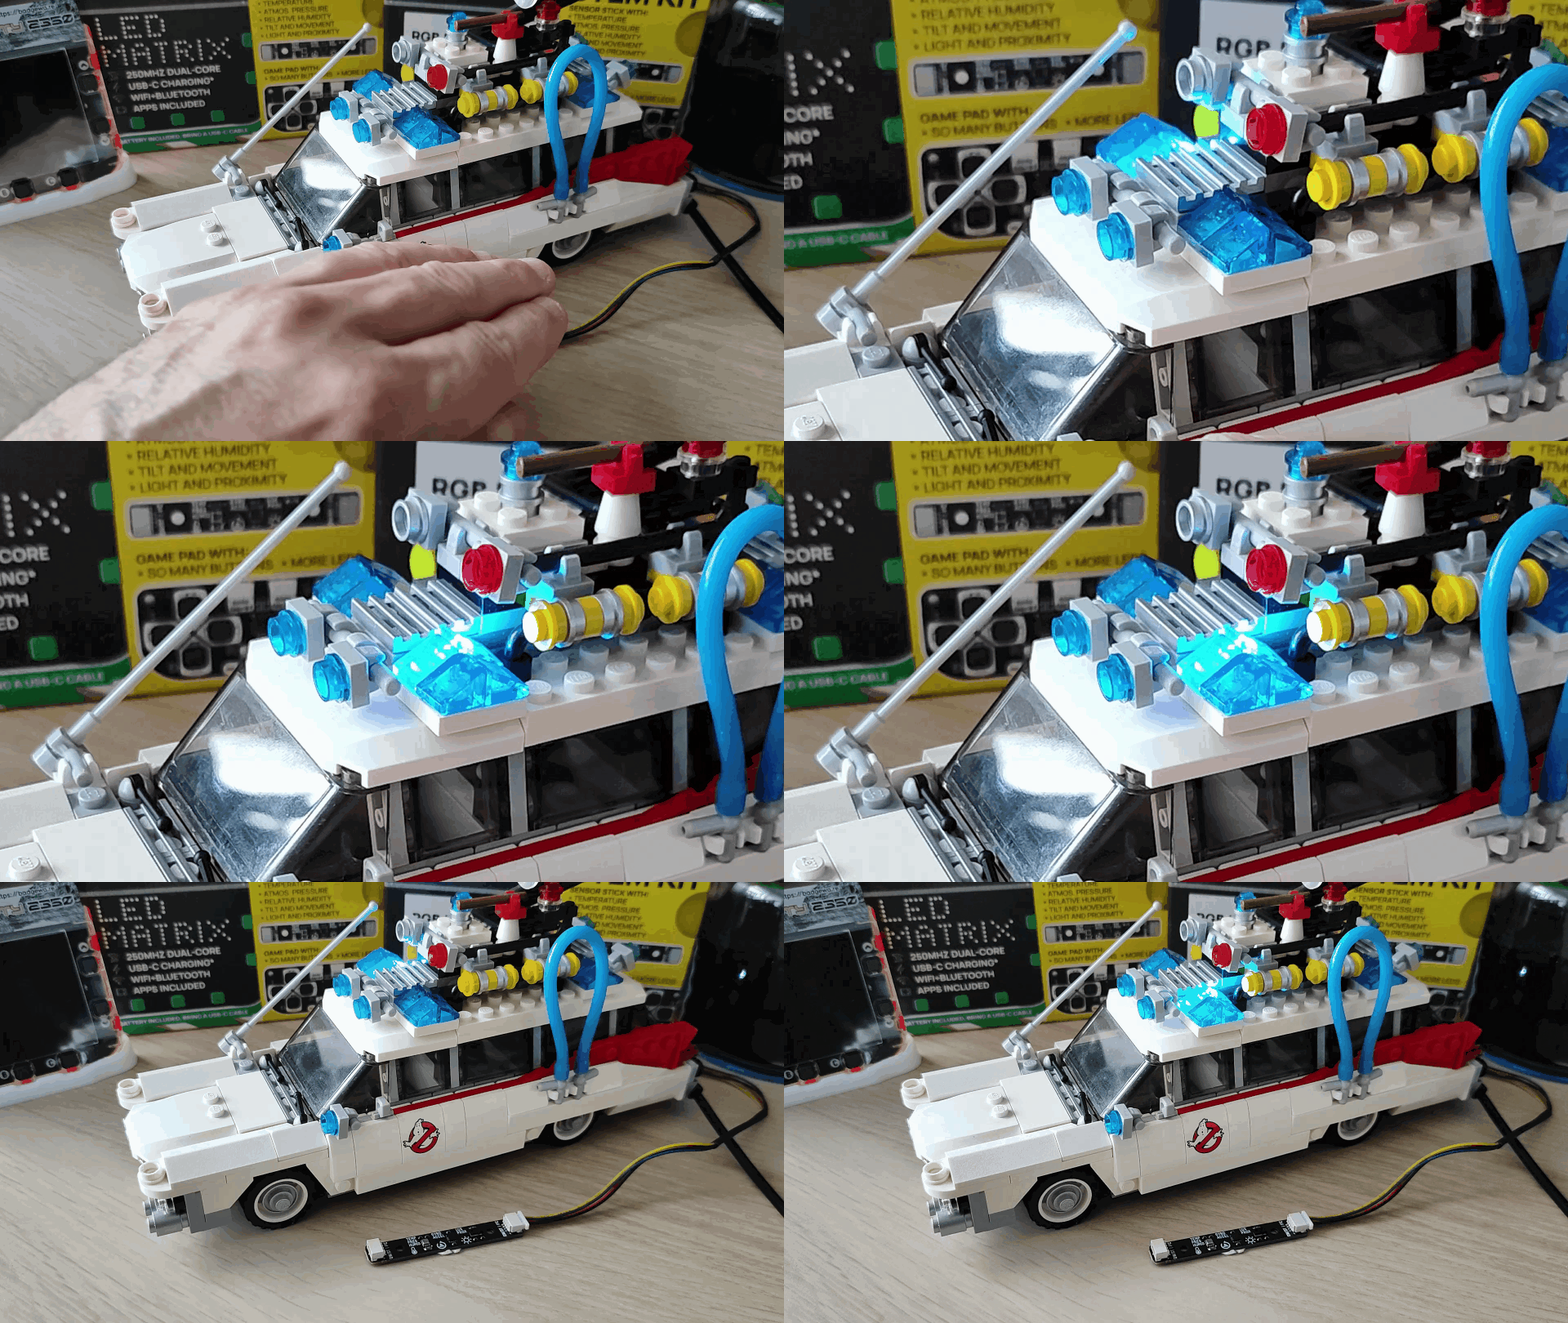
- Save the code as
main.pyto the root of Tiny FX. This will autorun the code when Tiny FX is turned on.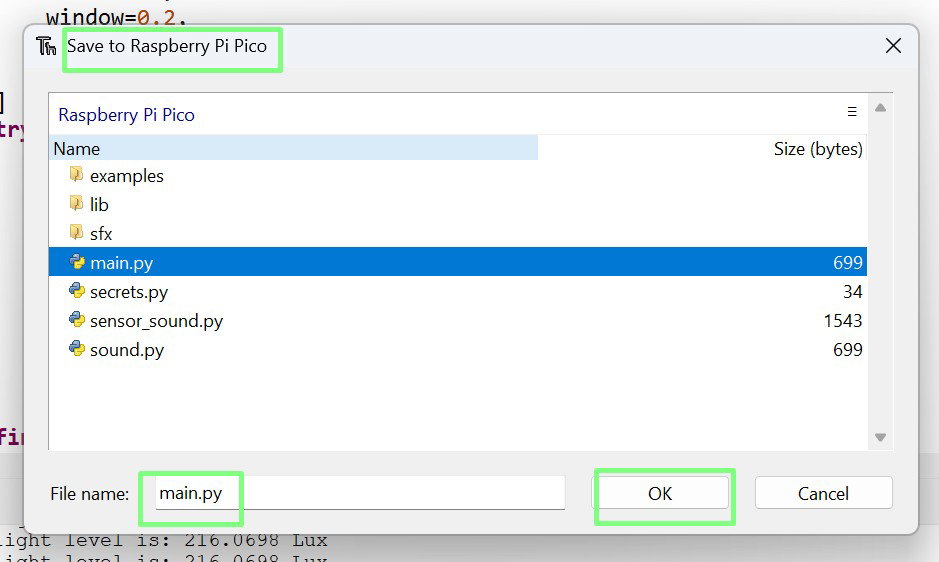
What Have We Learnt?
- How to attach a sensor to Tiny FX.
- How to use a sensor to detect light levels.
- How to use a sensor to detect gestures.
- How to use sensor input to trigger events.