 Easy
Play Animated GIFs on Art Matrix
Write your first plugin in MicroPython and play your favourite GIFs from a micro SD card.
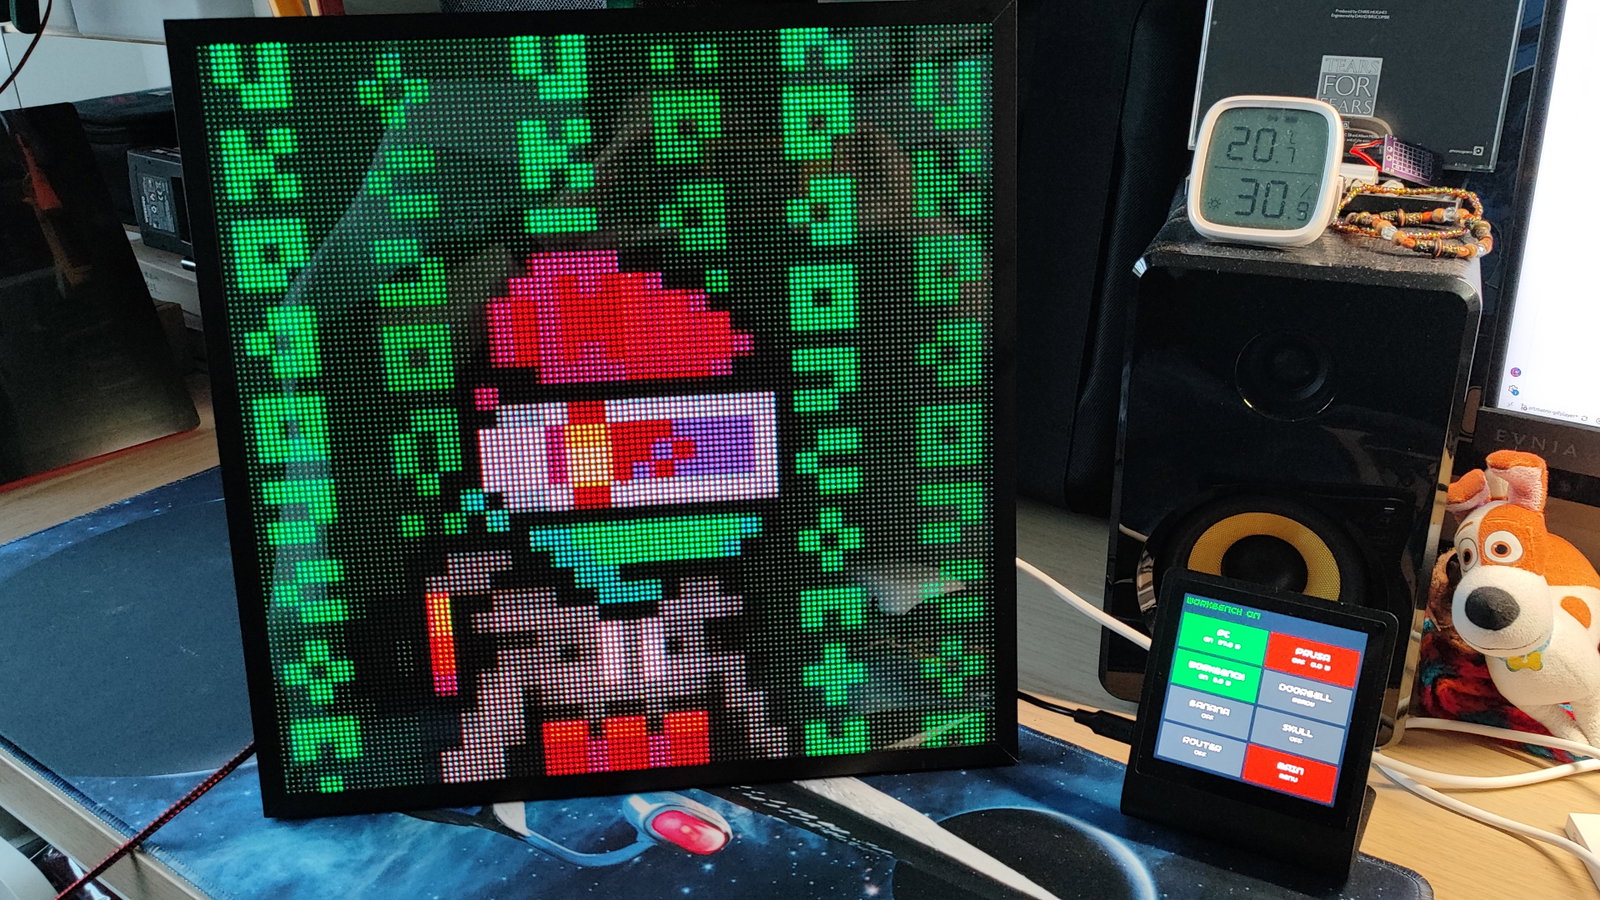
Art Matrix is 16,384 beautifully framed pixels, with a gallery of art and info plugins you can control from your phone. But you can do much more than just use it with the 45 provided plugins.
You can make your own plugin in less than an hour!
What Is A Plugin?
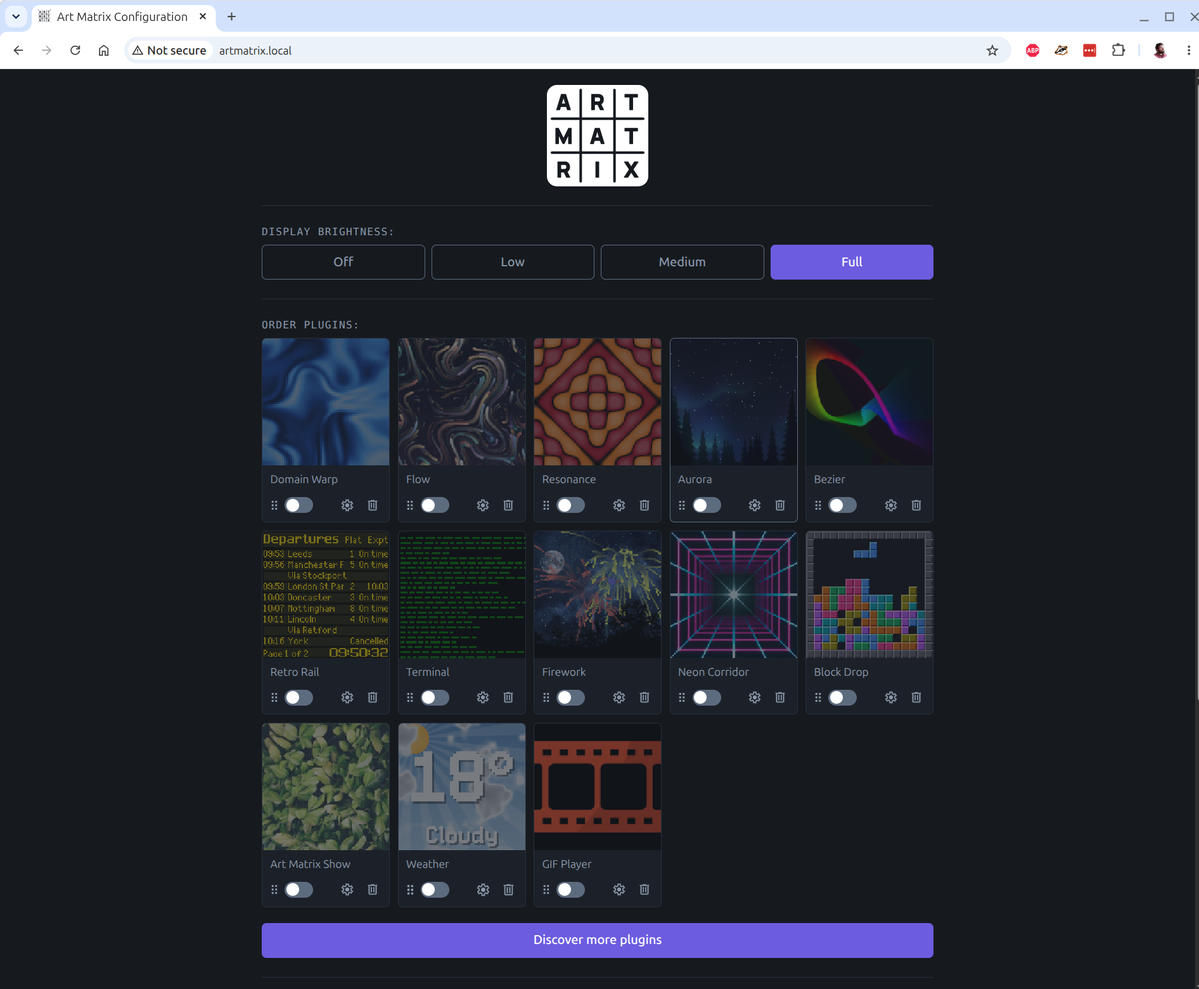
Essentially, a plugin is Art Matrix parlance for an app. Plugins are managed via the Art Matrix web interface and we can have more than one selected at any one time. The plugins will play in sequence, with a default of 10 seconds per plugin.
Plugins are stored onboard Art Matrix, inside /lib/plugins, each in its own directory.
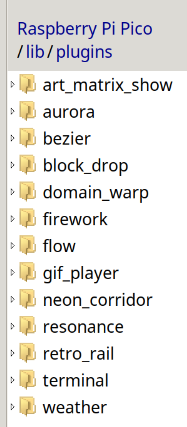
A plugin is made up of three key files.
__init__.pyThe MicroPython project code.package.jsonMetadata for the web UI to list the plugin.thumbnail.pngA 128 x 128 thumbnail image / icon to represent your plugin on the web UI.
What Is Our Goal?
Our goal is to create a simple animated GIF player plugin as a means to demonstrate how to create our first Art Matrix plugin. Simplicity is the key to starting our Art Matrix plugin journey, but future projects will be more complex.
So let's get started!
What You'll Need
- Art Matrix
- Good quality USB-A to USB-C or USB-C to USB-C cable
- A computer running Thonny
- A micro SD card
- A 128 x 128 pixel animated GIF
Connecting To Art Matrix
We're going to assume that you have already connected and used Art Matrix to display some art before trying this project.
Art Matrix requires two connections for this project. The first is for power, and the second is our connection between Art Matrix and our computer.
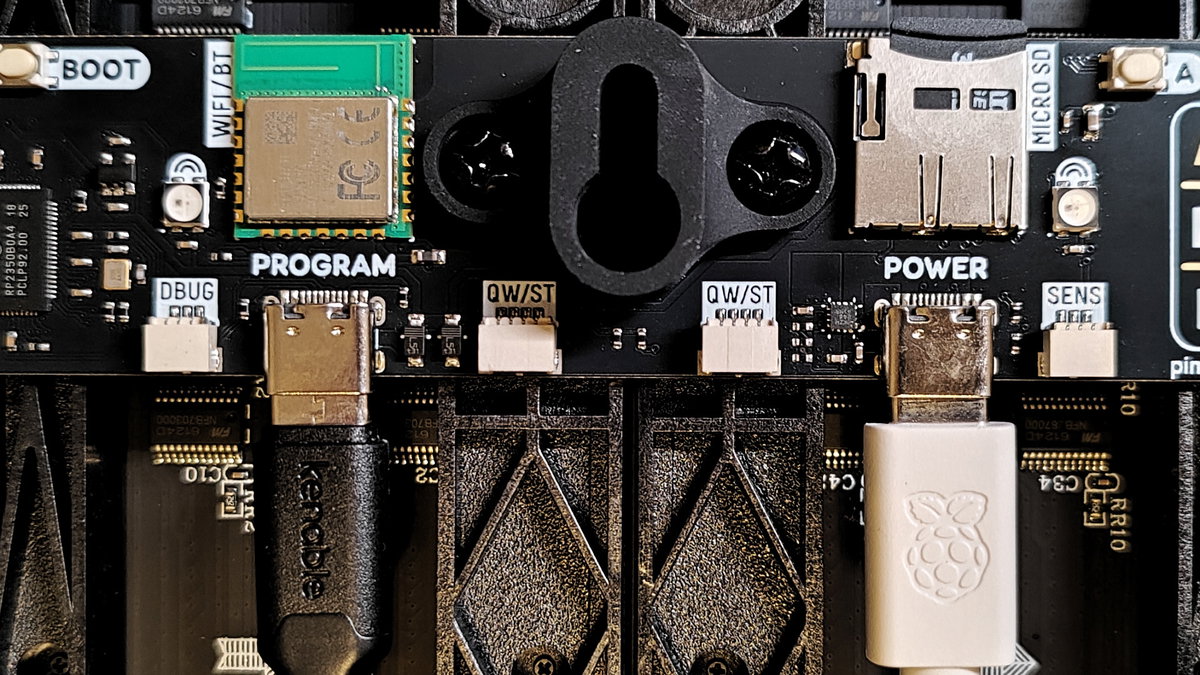
- Connect a good quality USB data cable to PROGRAM on Art Matrix, and your computer. We have USB-A to USB-C and USB-C to USB-C versions.
- Connect the included 45W power supply to the POWER port.
- Open Thonny on your computer and connect to Art Matrix. Click on
Tools >> Optionsand in the dialog select theInterpretertab. Set the interpreter toMicroPython (Raspberry Pi Pico)and leave the port set to auto-detect. Click onOKand then click onStopto force reset the connection.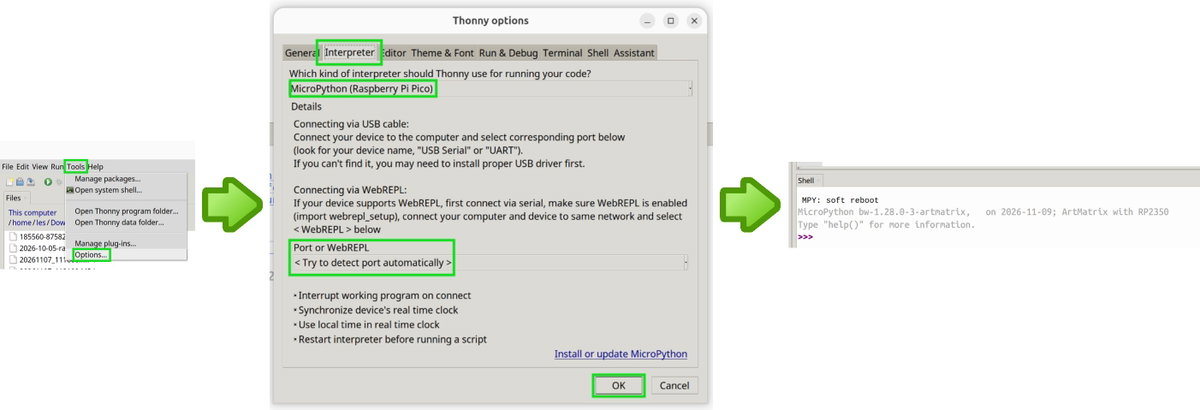
- Click on
View >> Files, then in theRaspberry Pi Picopane navigate tolib >> plugins.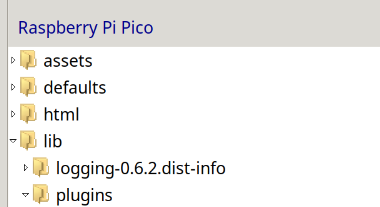
- Right-click in
pluginsand create a new directory calledgif_player.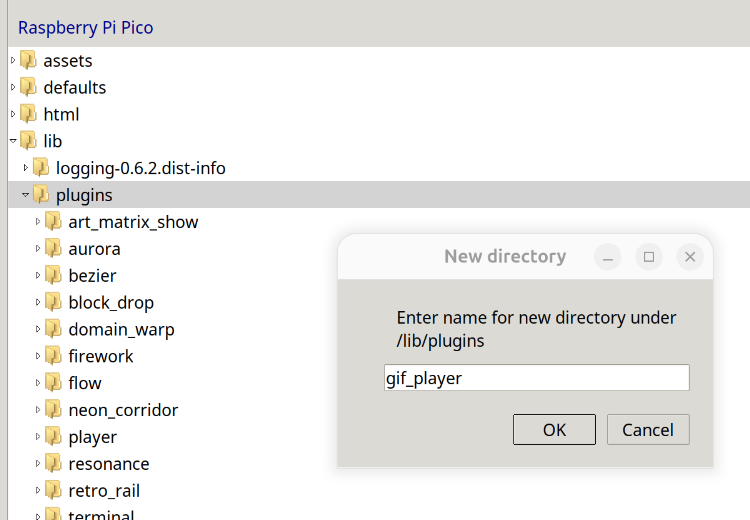
Coding The GIF Player
Click on
File >> Newto create a new file, then importtime, which is used to control the playback delay between each frame.import timeSet the
FPS(Frames Per Second) to control the playback speed. This will need to be tweaked if you want a GIF to play faster or slower.FPS = 15Create a variable to store the GIF as a spritesheet. A spritesheet is a single image, made up of a grid of equally sized cells. In our case, it is a grid that contains every frame in the GIF. The GIF is stored on a micro SD card that will be inserted into Art Matrix. How does Art Matrix know about the micro SD card? Good question. When Art Matrix powers up,
main.pyauto-mounts the micro SD card if there is one present.spritesheetis also loaded for us, so we don't need to import it. It is part of the underlying Art Matrix software, just like on our Badgeware devices.gif = spritesheet.load("/sd/gif-to-play.gif")Use a function,
update(), to contain the main project code.def update():Create a variable,
i, which is used to determine what frame to show. We first get the time since the board was powered on usingtime.ticks_ms(). We divide this by how long each frame should be on screen,1000 / FPSmilliseconds, and useint()to turn the result into a whole number. Finally, we use modulo (%) with the number of frames in the GIF (gif.sprites) so that the animation loops back to the first frame.i = int(time.ticks_ms() / (1000 / FPS)) % gif.spritesSet the pen colour to black
(0, 0, 0)and clear the screen.screen.pen = color.rgb(0, 0, 0) screen.clear()Write the current frame to the display inside a 128 x 128 rectangle.
screen.blit(gif.sprite(i), rect(0, 0, 128, 128))Save the code to your Art Matrix, inside the
gif_playerdirectory as__init__.py. When Thonny asks where to save, chooseRaspberry Pi Pico.
Complete Code Listing: __init__.py
import time
FPS = 15
gif = spritesheet.load("/sd/gif-to-play.gif")
def update():
i = int(time.ticks_ms() / (1000 / FPS)) % gif.sprites
    screen.pen = color.rgb(0, 0, 0)
    screen.clear()
screen.blit(gif.sprite(i), rect(0, 0, 128, 128))
Creating The GIF Player Plugin
Click on
File >> Newto create a new blank file.Inside the file, add this text. The text tells the Art Matrix web UI the name of the plugin, its version number, a brief description, the author's name, the category it belongs in, and whether the plugin requires an internet connection.
{
    "name": "GIF Player",
    "version": "1.0.0",
    "description": "Drop a 128 x 128 pixel GIF on a micro SD card and it plays on Art Matrix.",
    "author": "Your name here",
    "category": "Visualisations",
    "requires_internet": false
}
Save the file inside the
gif_playerdirectory aspackage.json. Again, chooseRaspberry Pi Picowhen asked.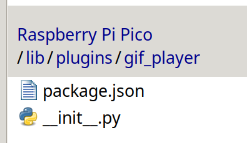
Create a 128 x 128 pixel icon in your favourite image editor and save it as
thumbnail.png. In Thonny'sThis computerpane, right-clickthumbnail.pngand chooseUpload to /lib/plugins/gif_player. You should now havepackage.json,thumbnail.pngand__init__.pyinside thegif_playerdirectory.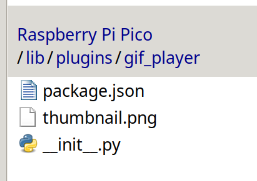
Creating A GIF
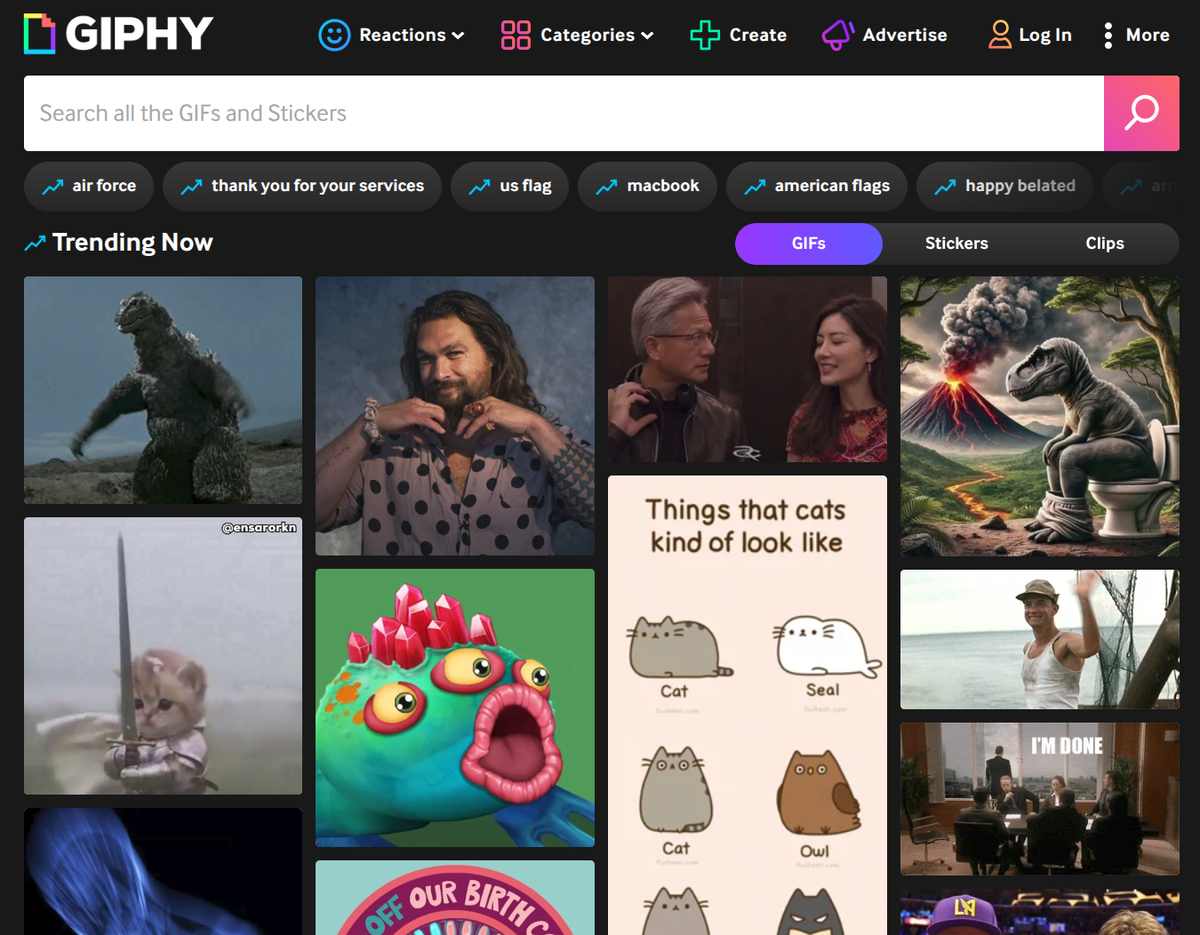
The framework for our plugin is complete; all that is missing is a GIF to play. You can carefully craft your own GIF, or you can head over to sites like Giphy and download your favourite GIF image.
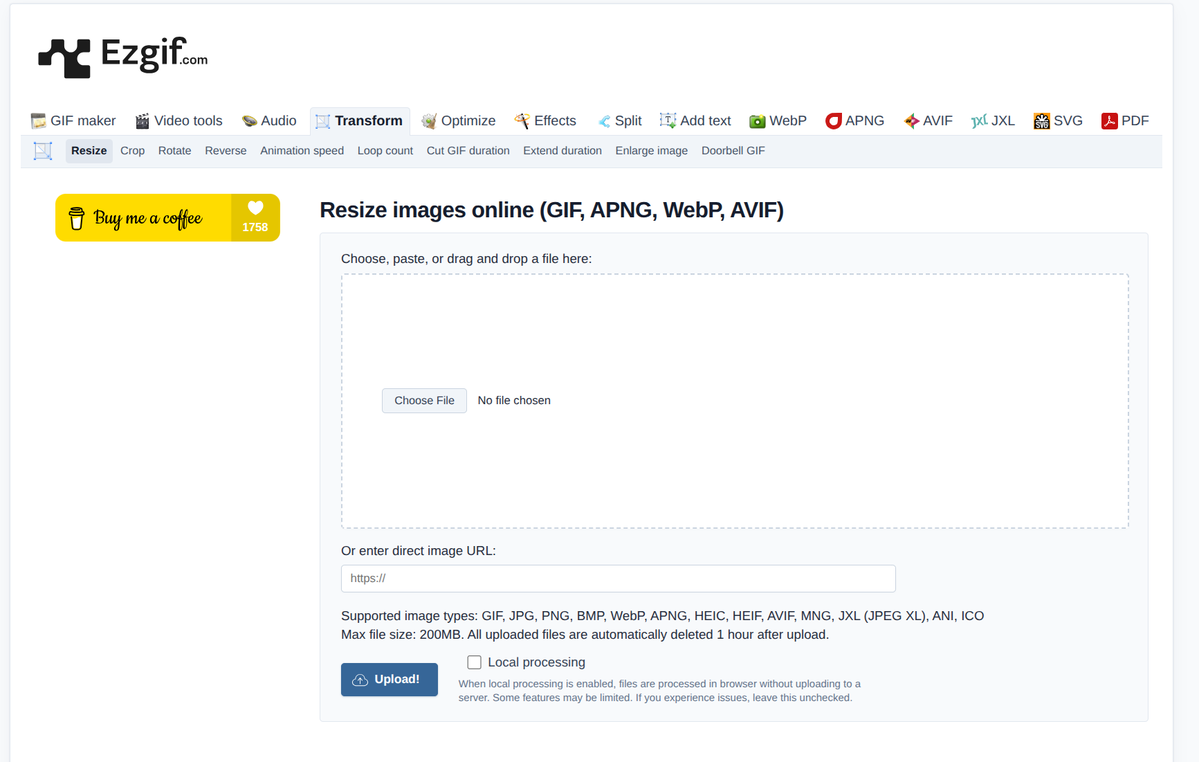
If the GIF isn't 128 x 128 pixels, it will need to be scaled down to 128 x 128 before copying it to the micro SD card. We would also advise keeping the number of frames as low as possible, otherwise you could run out of memory.
The Ezgif website has tools to resize, crop and tweak every aspect of your GIF.
Just upload your GIF and use the tools to tweak the image. When done, click on Save to download the GIF. Then copy it to the root of a micro SD card and rename the file to gif-to-play.gif.
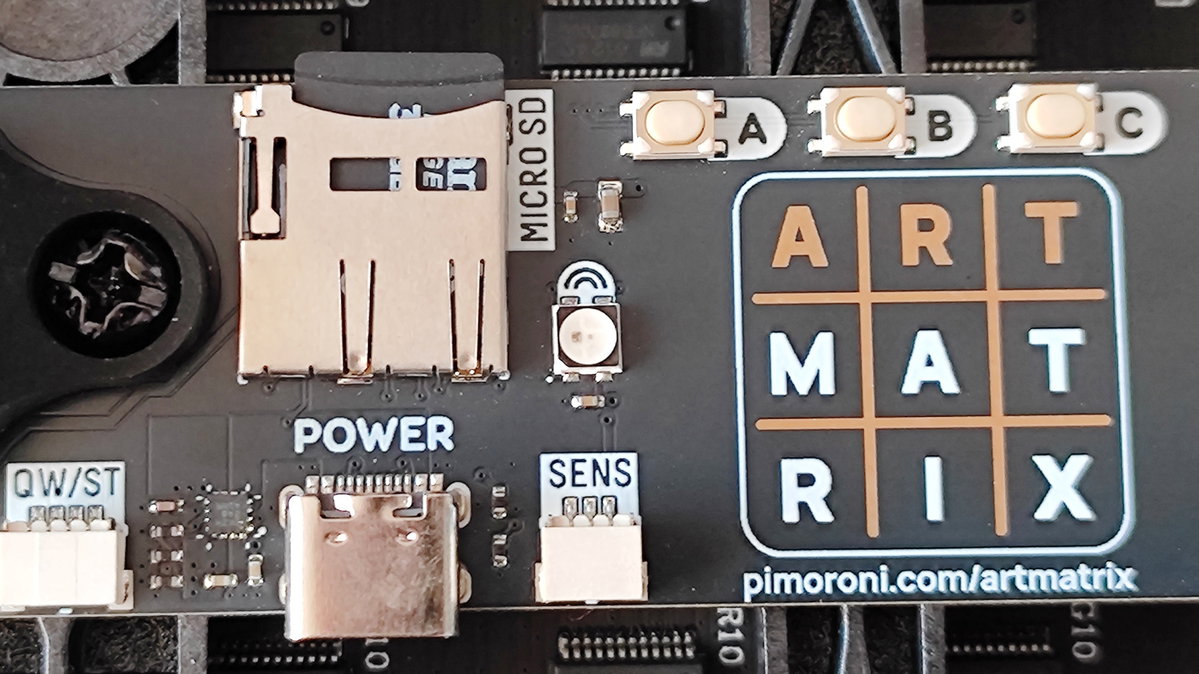
Place the micro SD card into Art Matrix, ensuring that it clicks into place, and then press the RST (Reset) button on Art Matrix.
Using The GIF Player Plugin
- Open a web browser and go to your Art Matrix. The exact URL was created during the setup process detailed in the Quick Start Guide. It is the address in the box which ends in
.local. Our unit is athttp://artmatrix.local. - Click on the toggle switch for GIF Player to activate it.
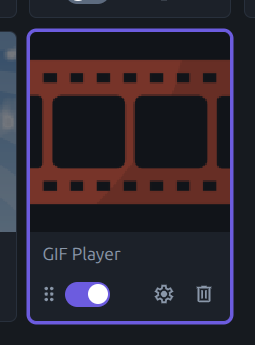
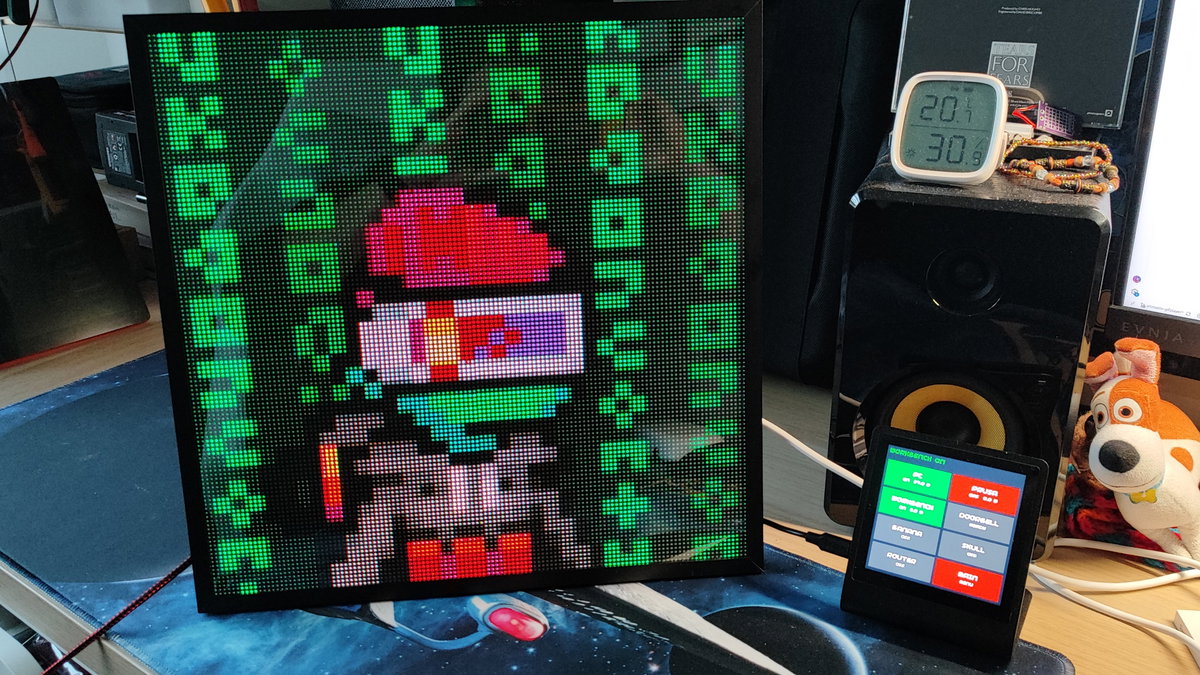
- Marvel as 16,384 tiny pixels play memes and GIFs at your command.
What Have We Learnt?
- How to connect to Art Matrix.
- How to write MicroPython code for Art Matrix.
- How to build an Art Matrix plugin.
- How to load and play a GIF using a spritesheet.
Taking It Further
Our code uses the same delay for every frame, set by FPS. A GIF stores its own delay for each frame, and we can read these from gif.timings to play any GIF at its intended speed. We leave this as an exercise for the reader.