 Easy
Easy
Getting Started with 1.12" Mono OLED Breakout
Learn how to connect our 1.12" Mono OLED Breakout to your Raspberry Pi computer and get started with the luma.oled Python library.
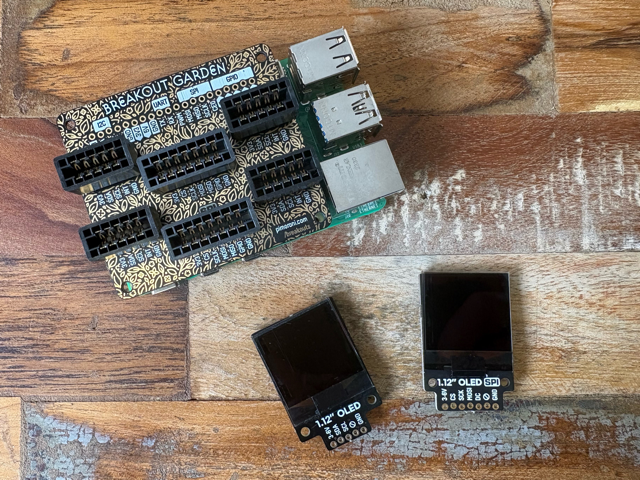
A crisp, bright 1.12" OLED that's ideal for adding a small display to your project, available in SPI and I2C flavours. This 128x128 pixel, monochrome white/black display is ideal for graphing, readouts, and displaying basic icons.
This quick guide will show you how to get it working with Raspberry Pi computers, using the luma.oled display library. Full documentation for the library can be found here.
We'll cover how to use both the I2C and SPI versions of the breakout in this guide.
Plugging it in
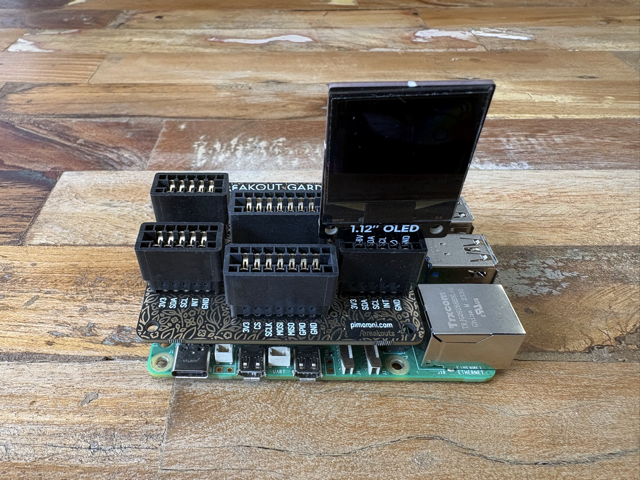
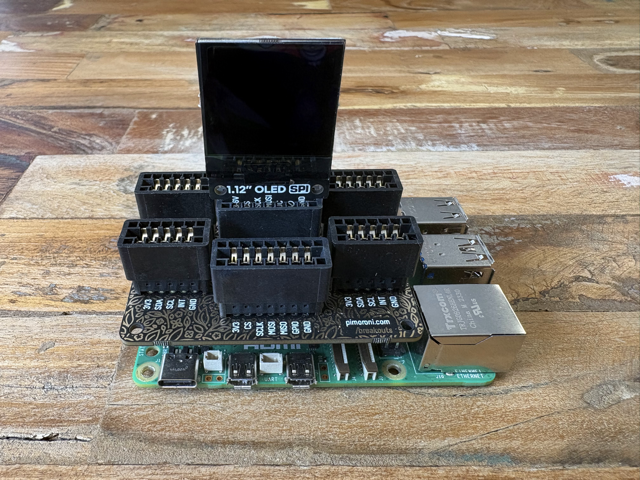
We're connecting our breakout to our Pi using a Breakout Garden for Raspberry Pi (I2C + SPI). There's also a mini version.
Here's what the I2C breakout looks like plugged in:
And here's the SPI version:
Pre-requisites
This guide assumes you're using a fresh, recent version of Pi OS. We used 64-bit Trixie, running on a Raspberry Pi 5.
Update Raspberry Pi OS
First make sure everything is up to date. Open up a terminal by pressing control-alt-t (or find it in the menus) and type:
sudo apt update && sudo apt upgrade
(and then press enter).
Enable I2C and SPI
You'll need to have I2C or SPI enabled on your Pi (depending on what kind of breakout you have). You can do this using the Raspberry Pi Configuration utility, accessible by typing sudo raspi-config in the terminal. The options to enable I2C and SPI are under 'Interface Options'.
Set Permissions
The luma.oled library needs some extra permissions to function. Set these as so, substituting your own username for pi:
sudo usermod -a -G i2c,spi,gpio pi
Install Packages
The library and examples also need some pre-requisite packages, now is a good time to check you have those installed.
sudo apt install python3-dev python3-pip python3-numpy libfreetype6-dev libjpeg-dev build-essential

sudo apt install libsdl2-dev libsdl2-image-dev libsdl2-mixer-dev libsdl2-ttf-dev libportmidi-dev
Installing the Luma OLED library
To install packages using pip on recent versions of Pi OS, we first need to set up a virtual environment:
python3 -m venv ~/luma-env --system-site-packages
Now we can install the luma.oled library into our new virtual environment:
~/luma-env/bin/python -m pip install --upgrade luma.oled
Downloading the examples
You can download the examples from GitHub by running the following command:
git clone https://github.com/rm-hull/luma.examples.git
Running the examples
Navigate to the examples directory that we just downloaded:
cd ~/luma.examples/examples/
You can type ls if you'd like to see a list of all the examples that are available.
If you have an I2C breakout, you can run an example like this:
~/luma-env/bin/python maze.py --display sh1106 --height 128 --rotate 2 --interface i2c
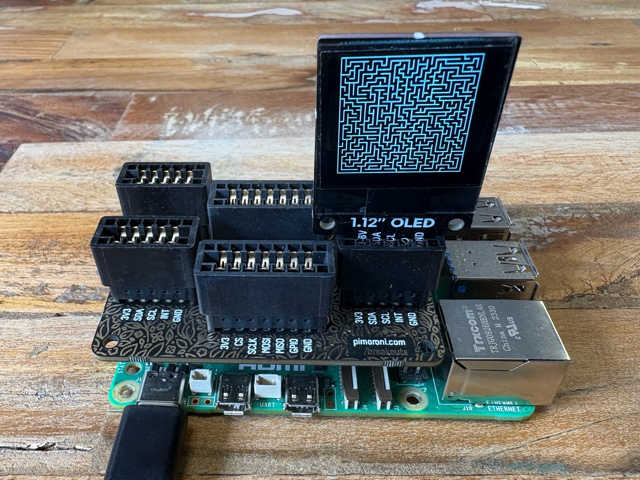
If you have a SPI breakout, you can run it like this. Use --spi-device 0 if your breakout is plugged into the back Breakout Garden slot, or --spi-device 1 for the front slot.
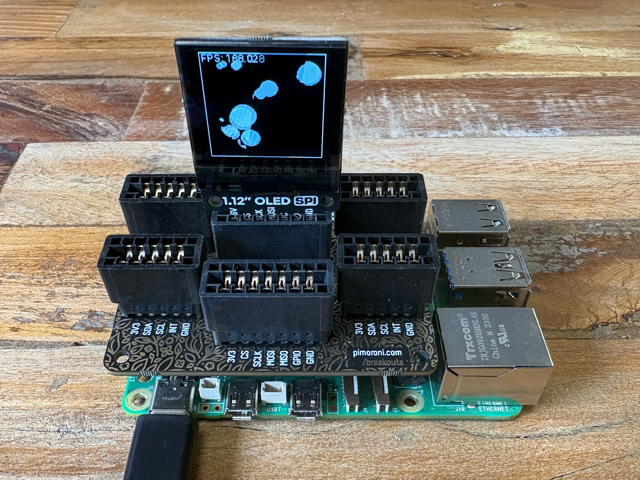
~/luma-env/bin/python bounce.py --display sh1106 --height 128 --rotate 2 --interface spi --gpio-data-command 9 --spi-device 0
Next steps
There are a bunch of examples to try out - there's a list of what they all do in the luma.examples readme. Note that there are examples for many different kinds of screens in this repo, so some of them will look strange on this mono screen.
If you're ready to start using luma.oled in your own projects check out the API documentation!