Building the scroll:bit Bear Badge Kit
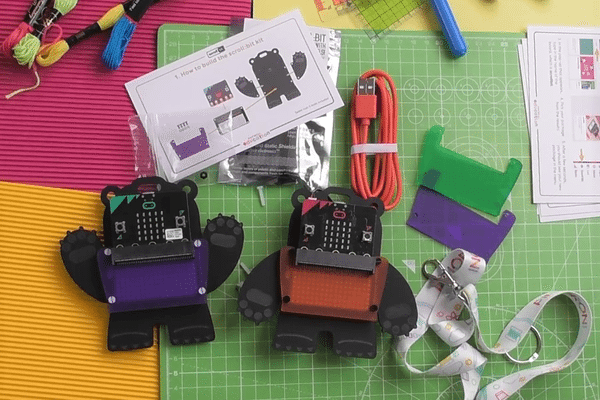
This tutorial will show you how to put your scroll:bit kit (also known as the Bear Badge Kit) together. The materials in the kit include three versions of the bear's t-shirt, so you can pick your favourite colour and save the others for later.
With this kit you'll be able to complete a number of projects that we've written for the scroll:bit, including a name badge and a fortune-telling bear!
It should take less than 15 minutes to assemble the kit.
We have included simplified instructions in with the kit, on the first of the printed cards. If you prefer video instructions, take a look at our YouTube channel.
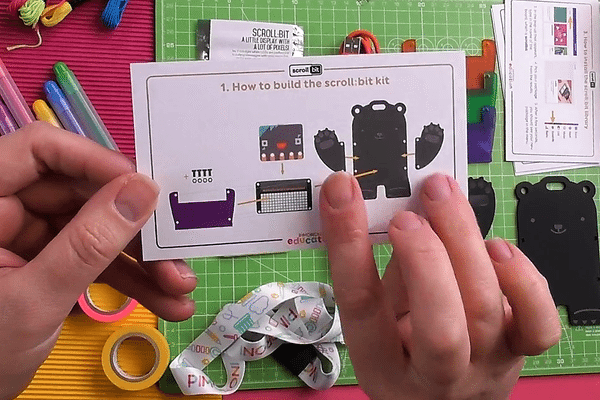
Prepare the acrylic pieces
The acrylic pieces come with a protective plastic film on them that you'll have to peel off before you assemble the kit. You'll need to do this for the bear's body, two arms, and whichever colour t-shirt you choose.
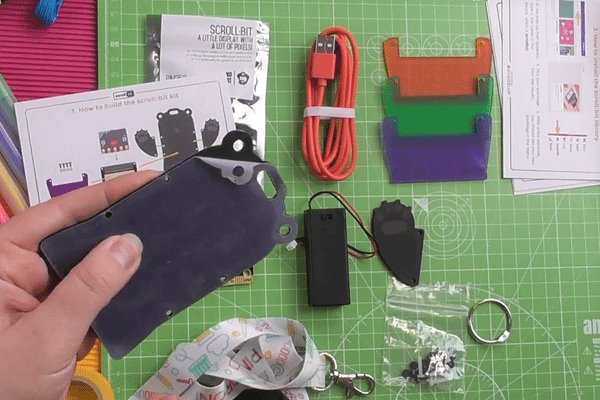
Stacking the pieces
The arms can be placed either way up, giving your bear an arms-up "yay!" effect, or an arms-down bodybuilder bear. The choice is yours!
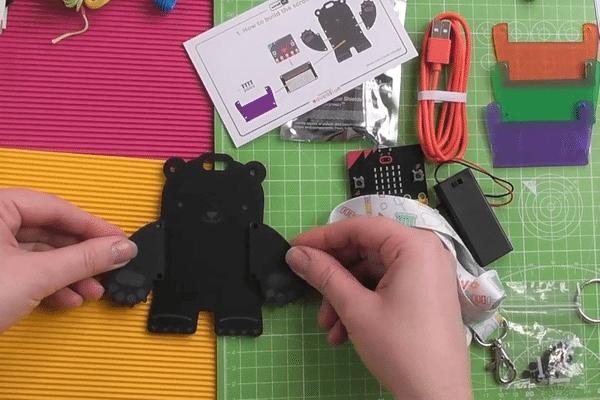
Whichever way you decide the arms should go, make sure the holes on the arms line up with the four holes on the bear's body. Just lie the arms down on top for now.
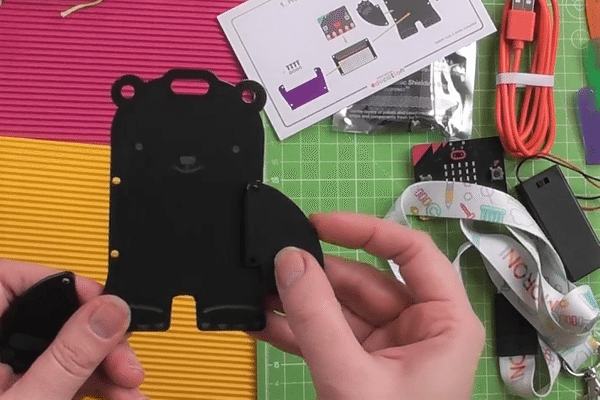
The next thing you'll need is the scroll:bit, which you'll find in the silver anti-static bag. It has four holes that line up with the ones on the body and the arms. Add the scroll:bit to the stack, and then choose a coloured t-shirt.
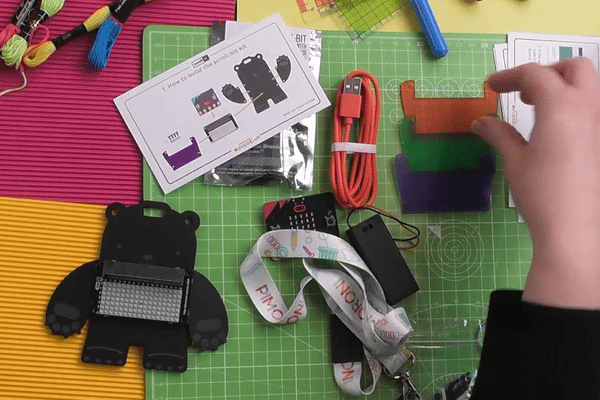
Again, line up the four holes in the t-shirt with the holes on the stack of pieces. This completes the stack, and now we just need to bolt it together.
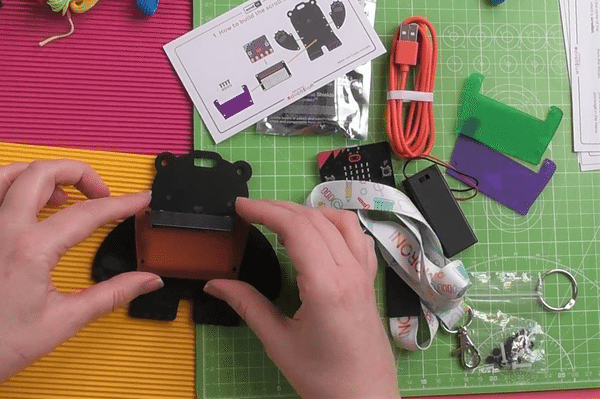
Bolting the stack together
There are a few different bits in the bolt pack, but you'll you want the long black bolts for this kit (the bolt pack is also used for other things so you'll have some left over). Find the matching black hexagonal nuts; you'll need four bolts and four nuts.
Note that the white bolts in the pack are too short to assemble the whole bear stack, although you could use them for a bear without a t-shirt!
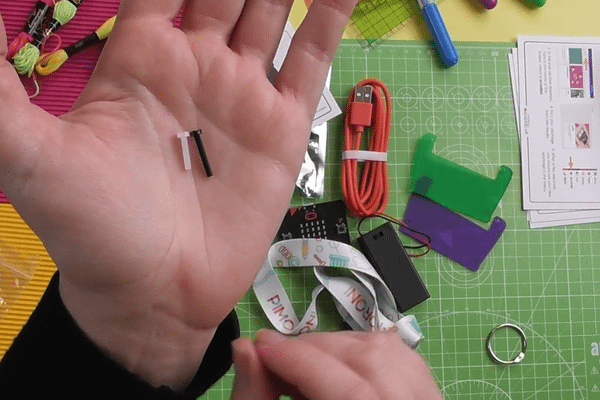
Starting from the front, push the first bolt through all the pieces. The bolt goes through the t-shirt, then through the scroll:bit, then through the arm, then through the body.
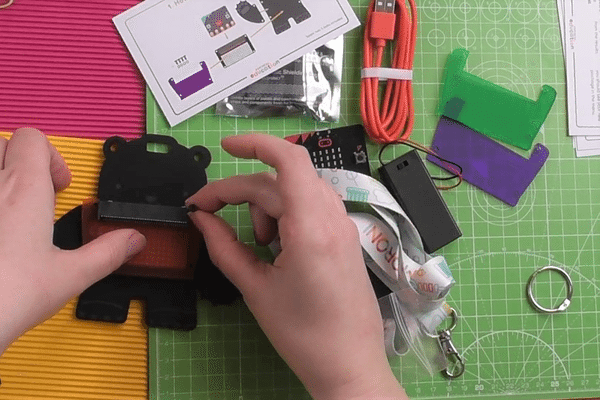
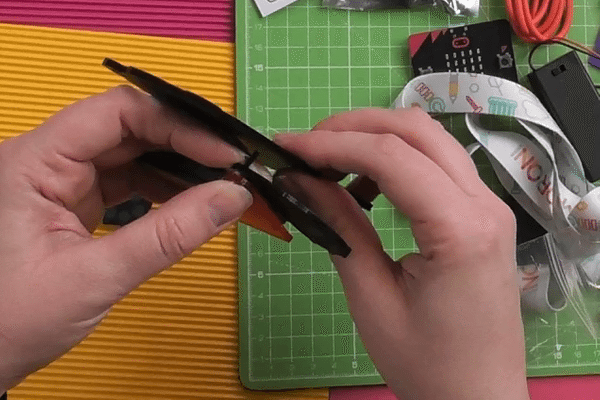
Repeat this for the other three bolts. If the other arm falls off while you are doing one side, just tuck it back in between the body and the scroll:bit once you've finished the other side.
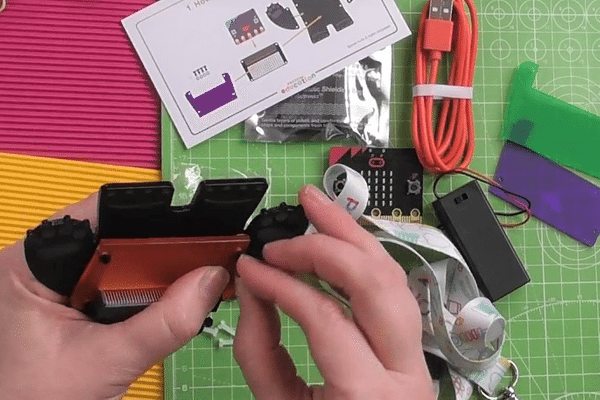
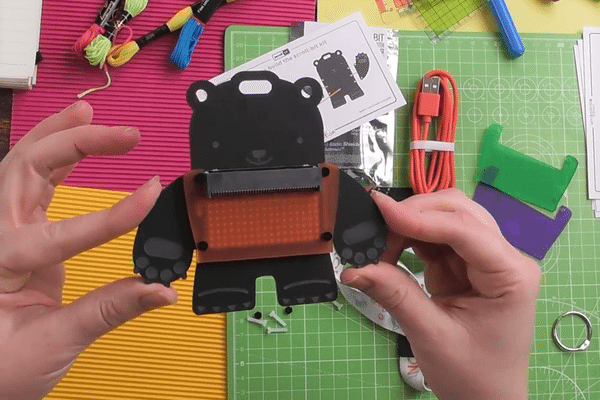
This is what the finished bear looks like. We're ready now to add the micro:bit and accessories.
Adding the accessories
To finish your Bear Badge, we need to add the micro:bit, lanyard, and battery pack.
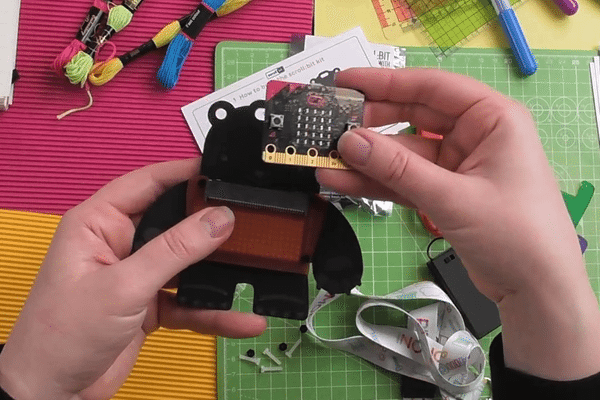
The micro:bit pushes into a slot on the scroll:bit. It's right at the front and I'm pointing at it in the picture below. When you push the micro:bit into the slot, make sure it's lined up correctly so as no to damage anything.
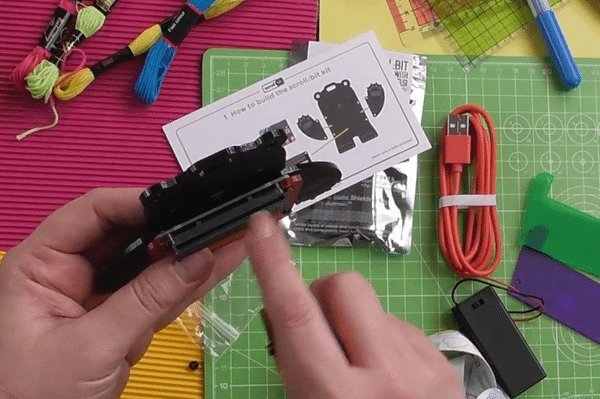
The micro:bit should be facing you (the side with the two buttons and LED matrix), and the shiny gold connectors at the bottom push down into the slot on the scroll:bit. It's quite a tight fit, so you'll need to press firmly.
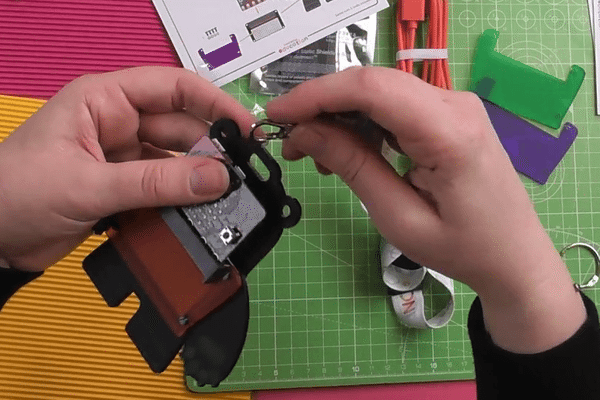
If you want to carry the bear around, clip the lanyard to the oval hole at the top. You can also clip it to either ear if you want your bear a jaunty angle!
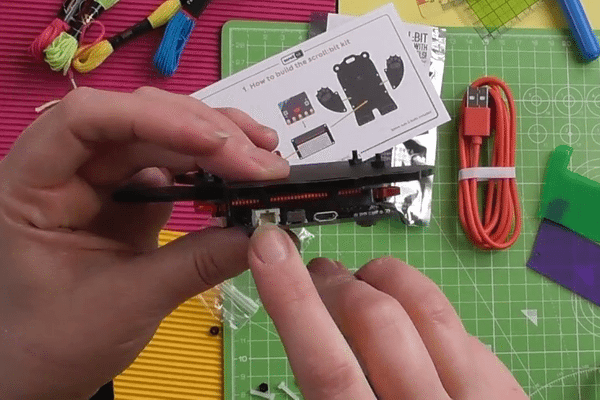
To connect the battery pack, look for the white socket on top of the micro:bit (it's on the back). It has a little notch on the side of the socket nearest the bear's body, and if you look at the white connector on the battery pack cable, you'll see a ridge. Line this ridge on the connector up with the notch on the socket and push it in.
You can tape or Blu Tack the battery pack to the back of the bear, if you like, to keep it from flapping around.
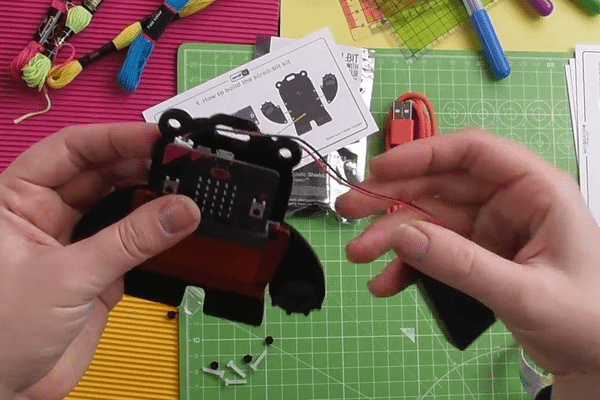
You're done! Remember you can change the t-shirt colour and arm position.
To buy the Bear Badge Kit head to our shop or, to see a video version of this tutorial, head to our youtube channel.
Next steps
Now that you've built your bear badge, you can start coding it! Follow the activities on the cards in your kit to learn how to install the scroll:bit software, and how to turn your bear into a name badge or fortune-teller.
Search above to find more great tutorials and guides.